Mini lesson - growing your first microgreens
Welcome
These are the basic instructions I used to hand out at workshops for beginner gardeners, it's now a free preview lesson in the online course 'biodynamics for busy people' as I start to move all my old courses from the Teachable platform over to Podia.
This was the closest online course to beginner's gardening, and it feels like a logical progression to go from first attempts at microgreen into biodynamics for busy people.
Enjoy.
Tools to get
Here are some photos of the tools I think you'll find necessary:
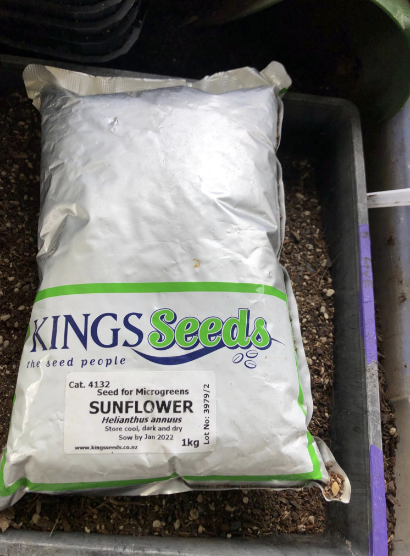
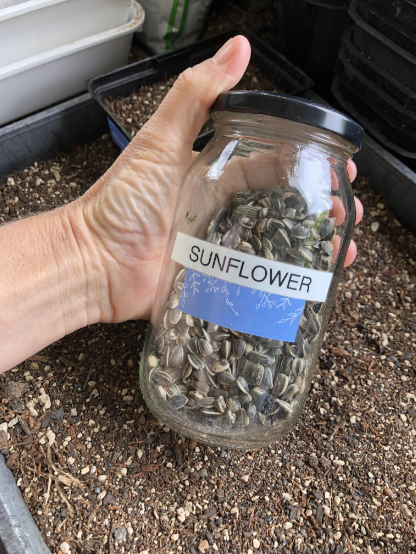
1) Seeds
I get all my microgreen seeds from King's Seeds. Fabulous service, excellent germination rate, and economic. One day I'll embrace the challenge of saving ALL my own seeds, even for microgreens, but for now I'm OK with this level of laziness.
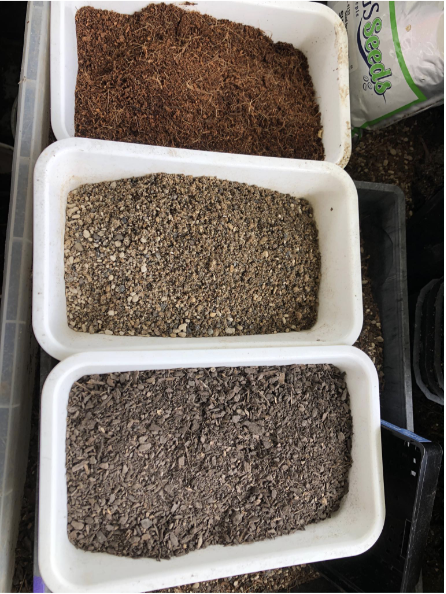
2) Soil
I make all my own seed raising mix, mostly because it's cheaper, but also because then I don't need anything sold in plastic packaging. Here are the three ingredients: pumice sand, coconut coir, and sifted compost. If you want to, you can just buy a bag of seed raising mix from the shop, it'll work just fine.
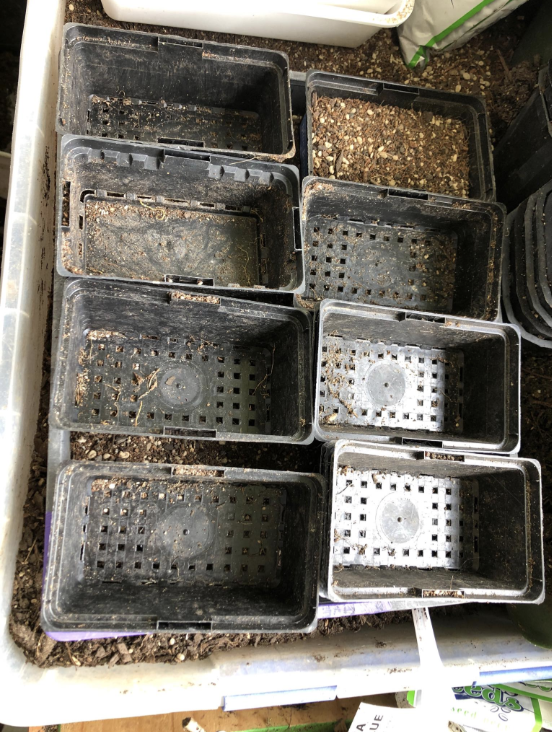
3) Trays
I use these standard seedling punnets in my kits, and find they are good for letting the roots grow enough for the stage of growth before I harvest. I've also used berry punnets, and they work well. I'm sure you can find something without buying it just for microgreens, and I encourage you to experiment. The growers I learned from were using the cafeteria trays you see in lunch bars - only about 1cm of soil depth!

One of the reasons I like using these little punnets is that you can grow eight at once in a larger tray.
And then you can start separating them off at the different rates of growth, and find pretty containers for them to sit inside in the kitchen (or at your desk at work, if you are taking a living snack to the office)
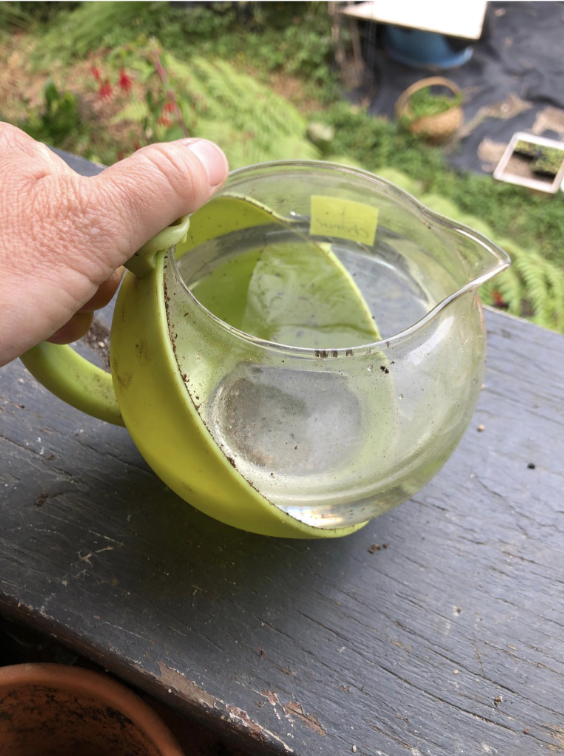
4) Watering can
I use an old teapot (lost the lid, and the colour didn't match my kitchen any more). I get frustrated with spray bottles, and instead use a slow, steady, carefully controlled trickle from a normal bottle or watering can.
Instructions on how to plant, grow and harvest microgreens
Planting:
You’ll need seed-raising mix. I blend equal parts of pumice sand, coconut coir, and sifted compost. Fill each punnet to about ¾, and scatter seeds over the soil, then put a little more soil over them and water them gently. You can place a cover over the top for the first 48 hours, but this is not essential.
How to care for them:
Water - keep them moist, but not drowning. The first day I give them a gentle water from above and then I place my trays on a bed of wet pumice. This encourages the roots to grow down towards the water. In summer it prevents moisture on the leaves creating a ‘sunburn’ effect.
Light - full sun in winter, but dappled light in summer.
Warmth - either side of summer is find to be outdoors. In winter you’ll want to use a cold frame or greenhouse, and expect the growth to be slower.
Air flow - if you grow these in a small hot-house box, make sure you freshen the air regularly, you don’t want it humid.
Good soil - The seeds have all they need to sprout, the soil should allow both drainage and water retention, and allow the seeds to send leaves up and roots down. A homemade seed-raising blend of coconut coir, pumice and compost is just right
When do I harvest my microgreens?
Most microgreens are about 2cm-4cm when they are harvested, and you really want to catch them before the first ‘true’ leaves emerge. Cut the stems as close to the soil as is practical, and wash the soil off before you eat them.
Where can I get more seeds?
Get in touch with me for a sample pack of pea shoots, sunflower shoots, rocket and radish. For bulk buying, I recommend King’s Seeds.
I want to learn to make seed-raising mix. Is there a recipe?
I regularly demonstrate this in my free Facebook group “Blue Borage Gardening” - come on over and ask all the questions you want.
I have more questions to ask….
Send me an email, or give me a call. Better yet, book me for a group workshop in your workplace, school, or community.
What next?
Once you've got the hang of growing microgreens, you'll probably want to grow lots of other food.
The rest of this online course has tips for planning all sorts of food to grow from seed.
May this be a delicious start to growing more and more of your own food.
Videos:
The first video below shows how to plant microgreens in a glass, and the second video shows the option with punnets.
Both methods work well.